NetWorker 9 modules for SQL, Exchange and Sharepoint now make use of ItemPoint to support granular recovery.![bigstock Database]()
ItemPoint leverages NetWorker’s ability to live-mount a database or application backup from compatible media, such as Advanced File Type devices or Data Domain Boost.
I thought I’d step through the process of performing a table level recovery out of a SQL server backup – as you’ll see below, it’s actually remarkably straight-forward to run granular recoveries in the new configuration. For my lab setup, I installed the Microsoft 180 day evaluation* license of Windows 2012 R2, and in the same spirit, the 180 day evaluation license for SQL Server 2014 (Standard).
Next off, I created a database and within that database, a table. I grabbed a list of English-language dictionary words and populated a table with rows consisting of the words and a unique ID key – just for something simple to test with.
Installing NetWorker on the Client
After getting the database server and a database ready, the next process was to install the NetWorker client within the Windows instance in order to do backup and recovery. After installing the standard NetWorker filesystem client using the base NetWorker for Windows installer, I went on to install the NetWorker Module for Microsoft Applications, choosing the SQL option.
In case you haven’t installed a NMM v9 plugin yet, I thought I’d annotate/show the install process below.
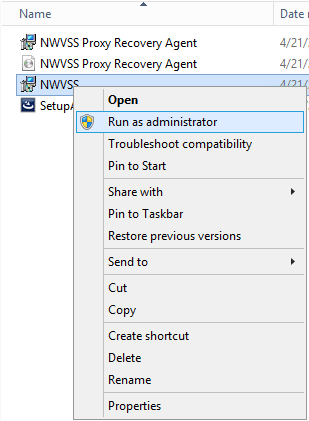
After you’ve unpacked the NMM zip file, you’ll want to run the appropriate setup file – in this case, NWVSS.
![NMM SQL Install 01]()
NMM SQL Install 01
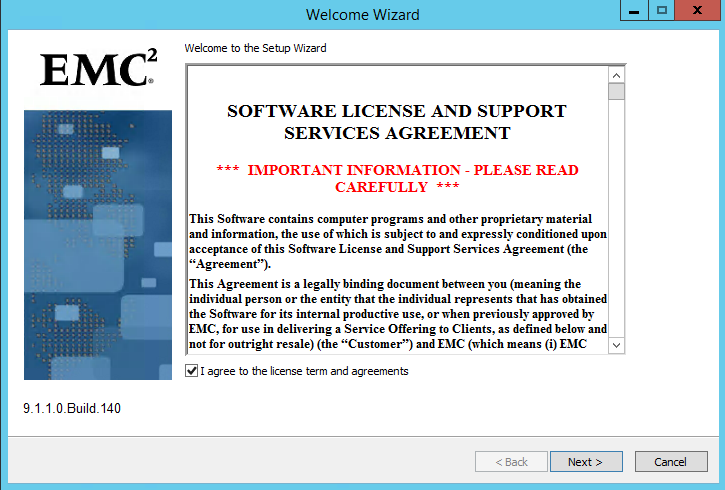
You’ll have to do the EULA acceptance, of course.
![NMM SQL Install 02]()
NMM SQL Install 02
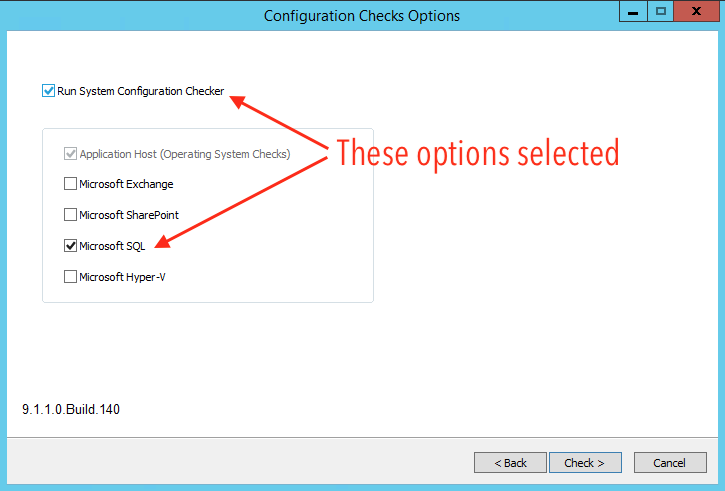
After you’ve agreed and clicked Next, you’ll get to choose what options in NMM you want to install.
![NMM SQL Install 03]()
NMM SQL Install 03
I chose to run the system configuration checker, and you definitely should too. This is an absolute necessity in my mind – the configuration checker will tell you if something isn’t going to work. It works through a gamut of tests to confirm that the system you’re attempting to install NMM on is compatible, and provides guidance if any of those tests aren’t passed. Obviously as well, since I wanted to do SQL backup and recovery, I also selected the Microsoft SQL option. After this, you click Check to start the configuration check process.
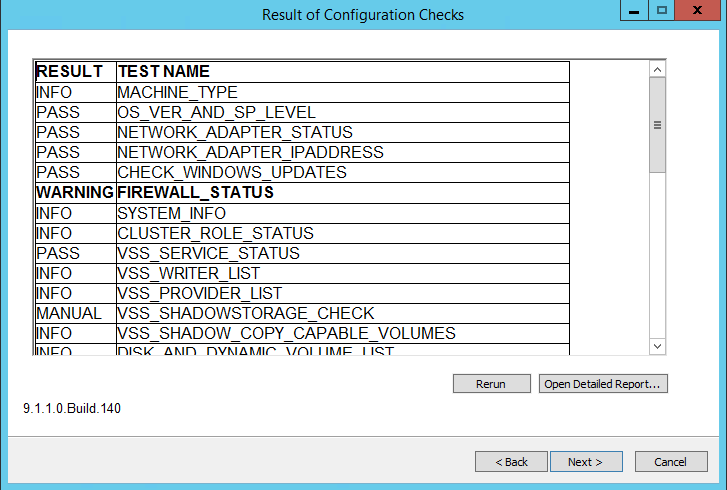
Depending on the size and scope of your system, the configuration checker may take a few minutes to run, but after it completes, you’ll get a summary report, such as below.
![NMM SQL Install 04]()
NMM SQL Install 04
Make sure to scroll through the summary and note there’s no errors reported. (Errors will have a result of ‘ERROR’ and will be in red.) If there is an error reported, you can click the ‘Open Detailed Report…’ button to open up the full report and see what actions may be available to rectify the issue. In this case, the check was successful, so it was just a case of clicking ‘Next >’ to continue.
![NMM SQL Install 05]()
NMM SQL Install 05
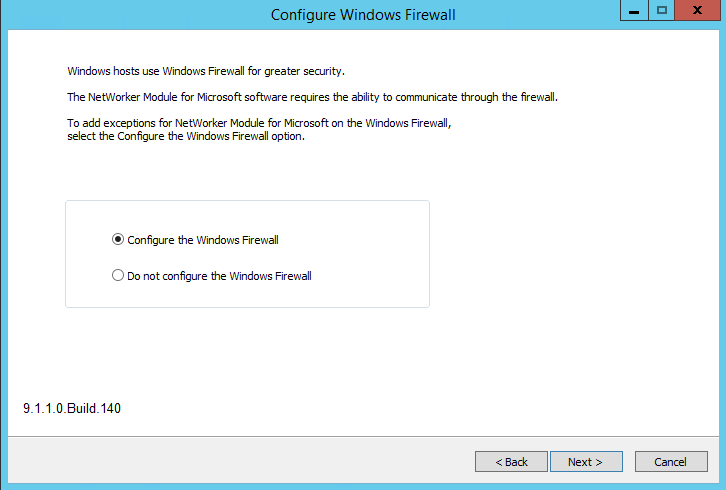
Next you have to choose whether to configure the Windows firewall. If you’re using a third party firewall product, you’ll typically want to do the firewall configuration manually and choose ‘Do not configure…’. Choose the appropriate option for your environment and click ‘Next >’ to continue again.
![NMM SQL Install 06]()
NMM SQL Install 06
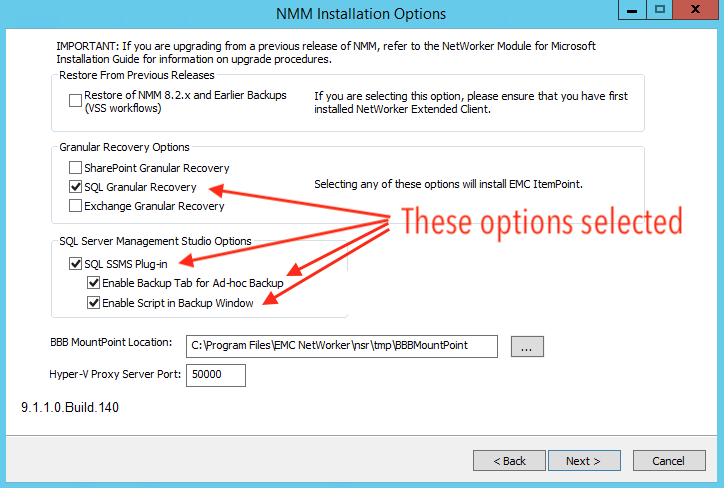
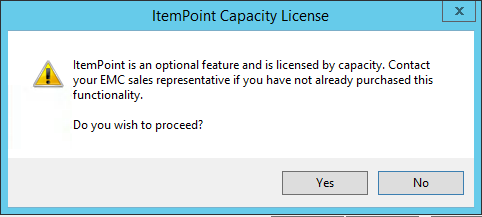
Here’s where you get to the additional options for the plugin install. I chose to enable the SQL Granular Recovery option, and enabled all the SQL Server Management Studio options, per the above. You’ll get a warning when you click Next here to ensure you’ve got a license for ItemPoint.
![NMM SQL Install 07]()
NMM SQL Install 07
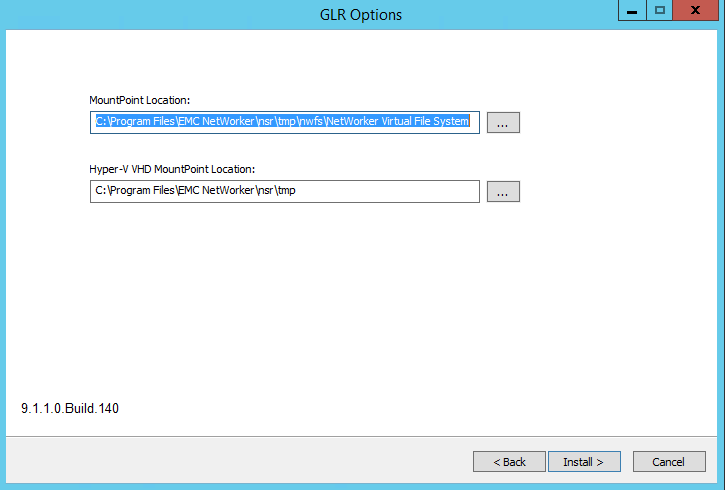
I verified I did have an ItemPoint license and clicked Yes to continue. If you’re going with granular recovery, you’ll be prompted next for the mount point directories to be used for those recoveries.
![NMM SQL Install 08]()
NMM SQL Install 08
In this, I was happy to accept the default options and actually start the install by clicking the ‘Install >’ button.
![NMM SQL Install 09]()
NMM SQL Install 09
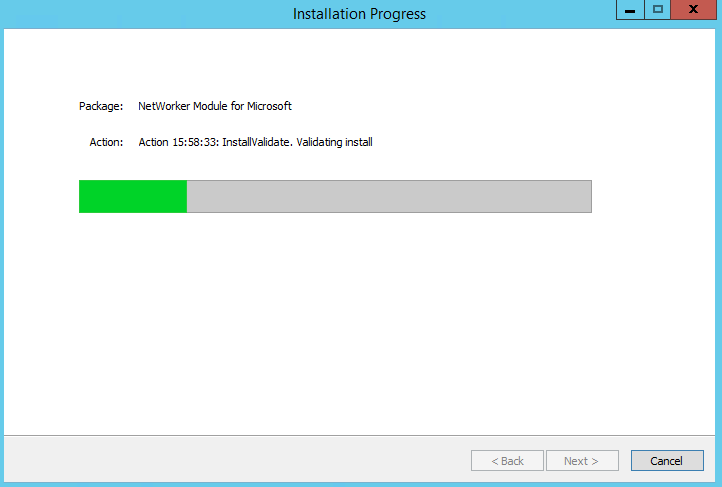
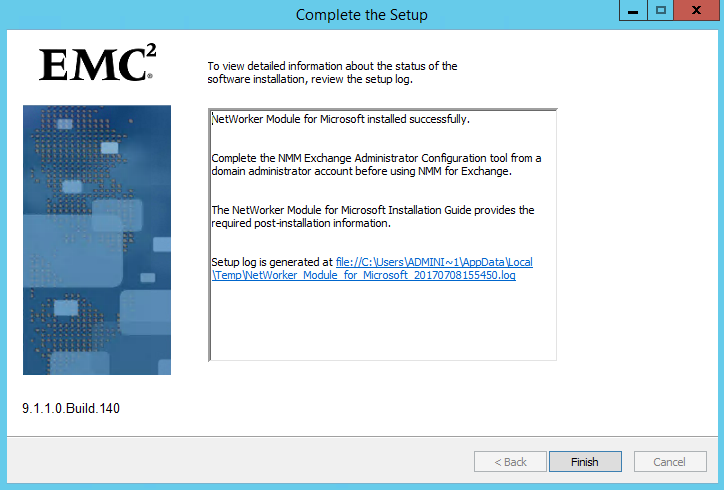
The installer will then do its work, and when it completes you’ll get a confirmation window.
![NMM SQL Install 10]()
NMM SQL Install 10
That’s the install done – the next step of course is configuring a client resource for the backup.
Configuring the Client in NMC
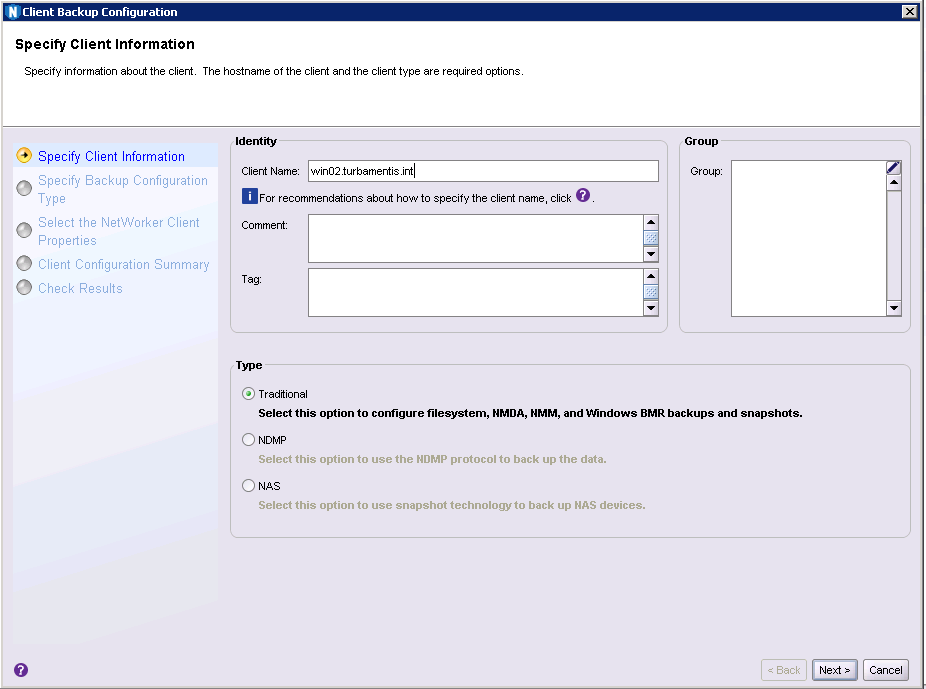
The next step is to create a client resource for the SQL backups. Within NMC, go into the configuration panel, right-click on Clients and choose to create a new client via the wizard. The sequence I went through was as follows.
![NMM SQL Config 01]()
NMM SQL Config 01
Once you’ve typed the client name in, NetWorker is going to be able to reach out to the client daemons to coordinate configuration. My client was ‘win02’, and as you can see from the client type, a ‘Traditional’ client was the one to pick. Clicking ‘Next >’, you get to choose what sort of backup you want to configure.
![NMM SQL Config 02]()
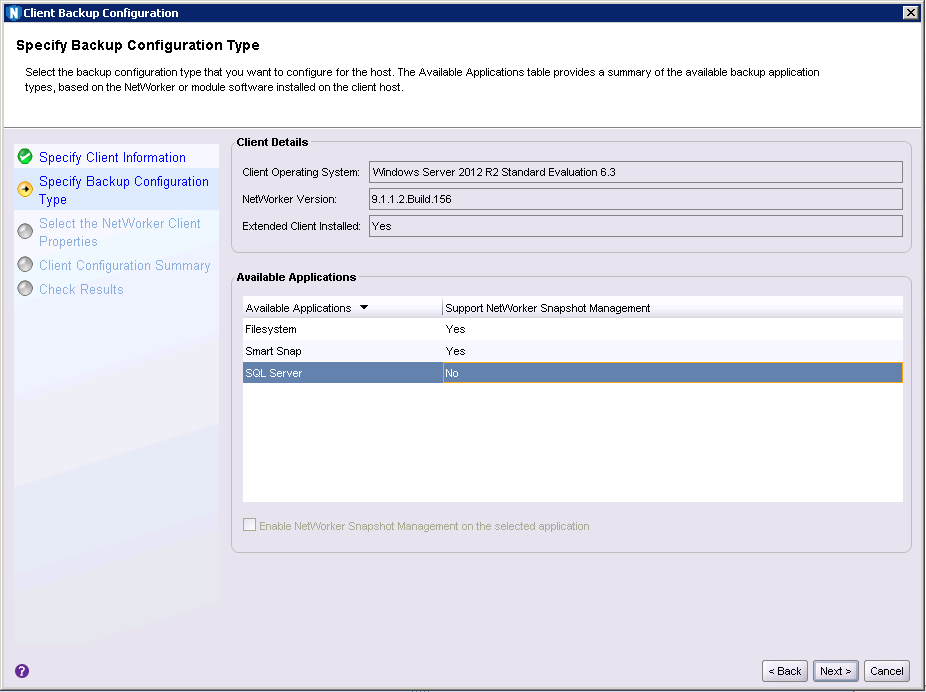
NMM SQL Config 02
At this point the NetWorker server has contacted the client nsrexecd process and identified what backup/recovery options there are installed on the client. I chose ‘SQL Server’ from the available applications list. ‘Next >’ to continue.
![NMM SQL Config 03]()
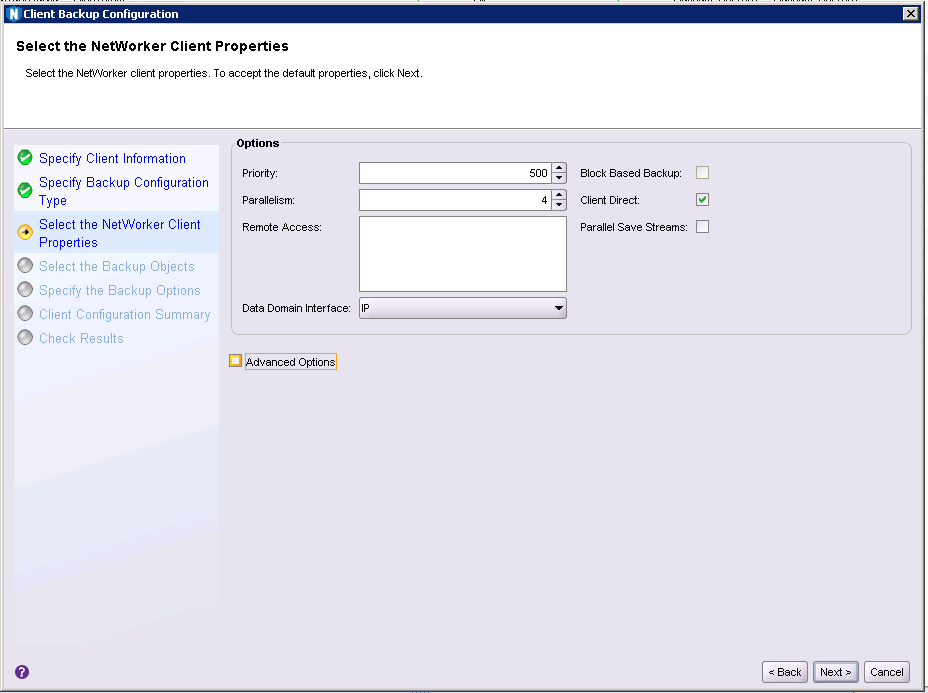
NMM SQL Config 03
I didn’t need to change any options here (I wanted to configure a VDI backup rather than a VSS backup, so I left ‘Block Based Backup’ disabled). Clicking ‘Next >’ from here lets you choose the databases you want to backup.
![NMM SQL Config 04]()
NMM SQL Config 04
I wanted to backup everything – the entire WIN02 instance, so I left WIN02 selected and clicked ‘Next >’ to continue the configuration.
![NMM SQL Config 05]()
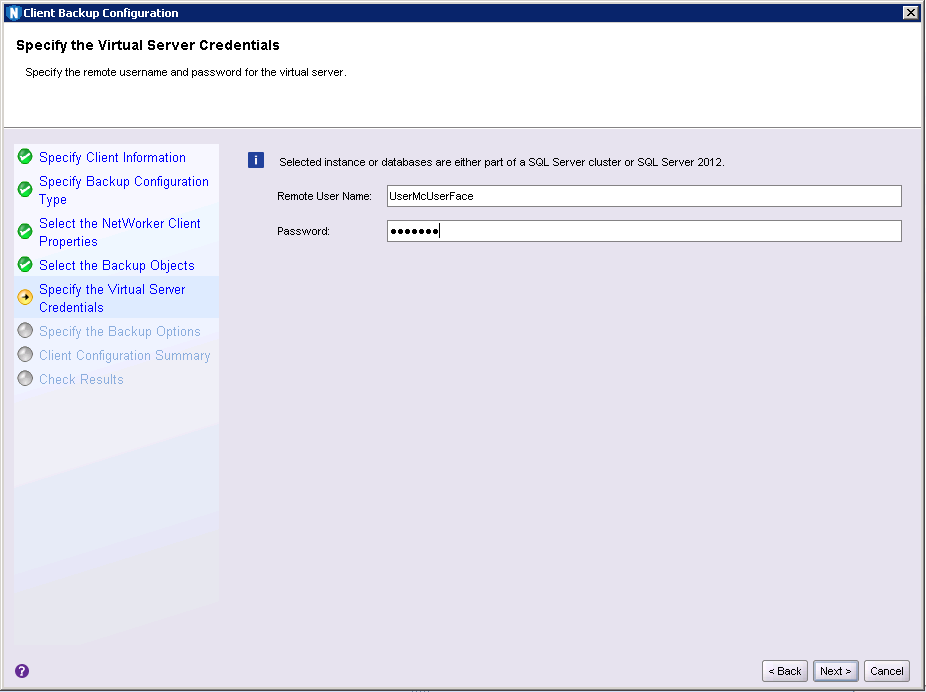
NMM SQL Config 05
Here you’ll be prompted for the accessing credentials for the SQL backups. Since I don’t run active directory at home, I was just using Windows authentication so in actual fact I entered the ‘Administrator’ username and the password, but you can change it to whatever you need to as part of the backup. Once you’ve got the correct authentication details entered, ‘Next >’ to continue.
![NMM SQL Config 06]()
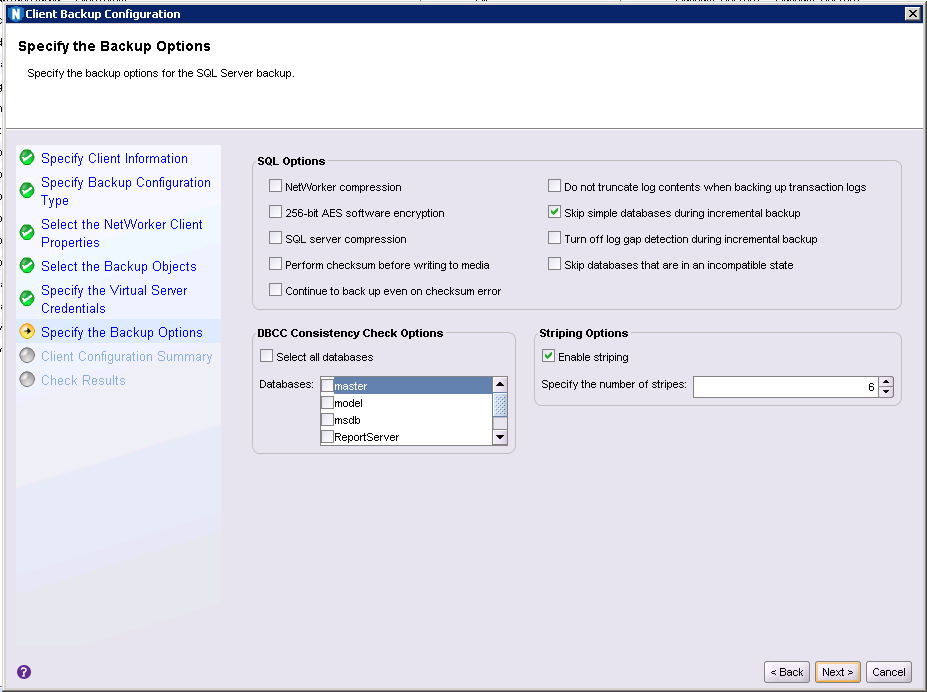
NMM SQL Config 06
Here’s where you get to choose SQL specific options for the backup. I elected to skip simple databases for incremental backups, and enabled 6-way striping for backups. ‘Next >’ to continue again.
![NMM SQL Config 07]()
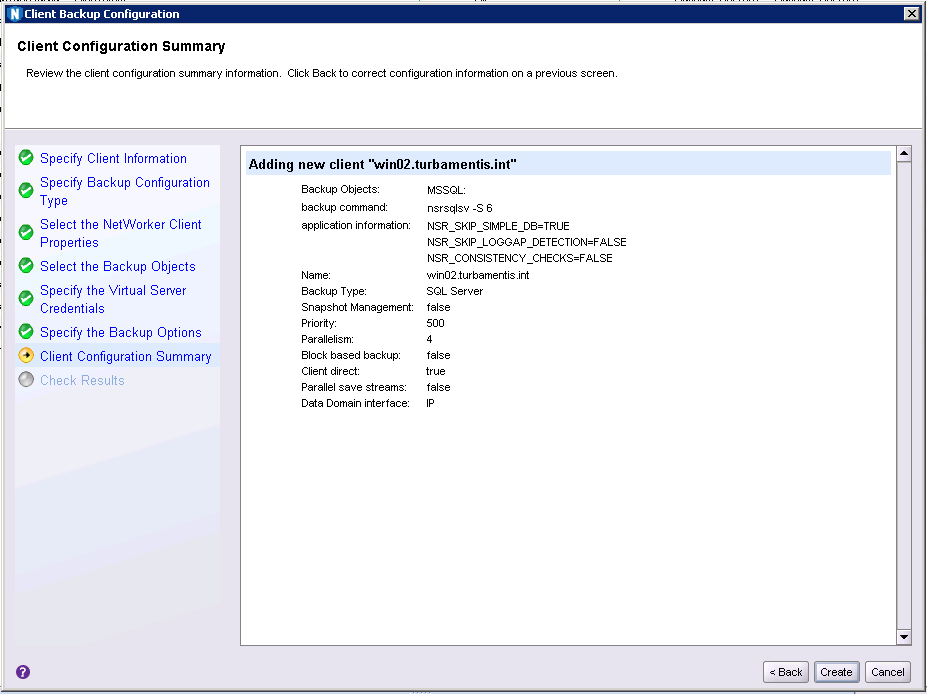
NMM SQL Config 07
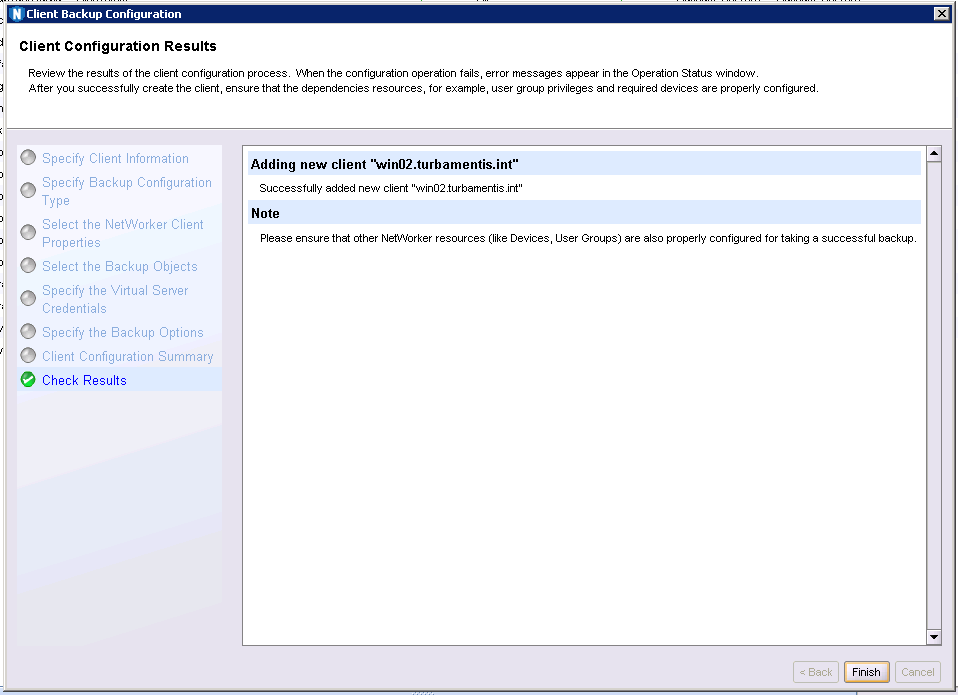
The Wizard then prompts you to confirm your configuration options, and I was happy with them, so I clicked ‘Create’ to actually have the client resource created in NetWorker.
![NMM SQL Config 08]()
NMM SQL Config 08
The resource was configured without issue, so I was able to click Finish to complete the wizard. After this, it was just a case of adding the client to an appropriate policy and then running that policy from within NMC’s monitoring tab.
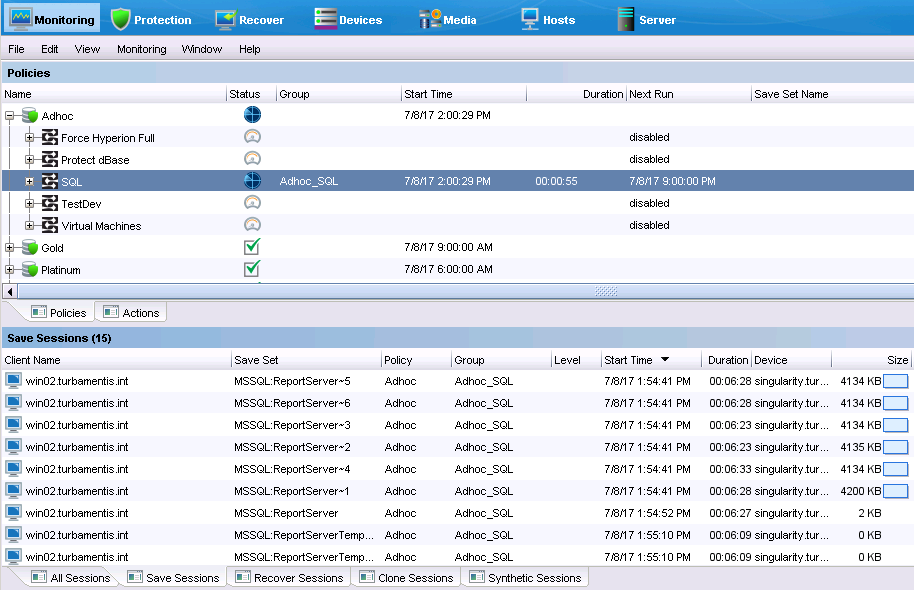
![NMM SQL Config 09]()
NMM SQL Config 09
And that was it – module installed, client resource configured, and backup completed. Next – recovery!
Doing a Granular Recovery
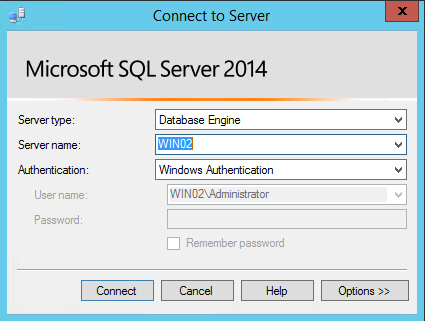
To do a granular recovery – a table recovery – I jumped across via remote desktop to the Windows host and launched SQL Management Studio. First thing, of course, was to authenticate.
![NMM SQL GLR 01]()
NMM SQL GLR 01
Once I’d logged on, I clicked the NetWorker plugin option, highlighted below:
![NMM SQL GLR 02]()
NMM SQL GLR 02
That brought up the NetWorker plugin dialog, and I went straight to the Table Restore tab.
![NMM SQL GLR 03]()
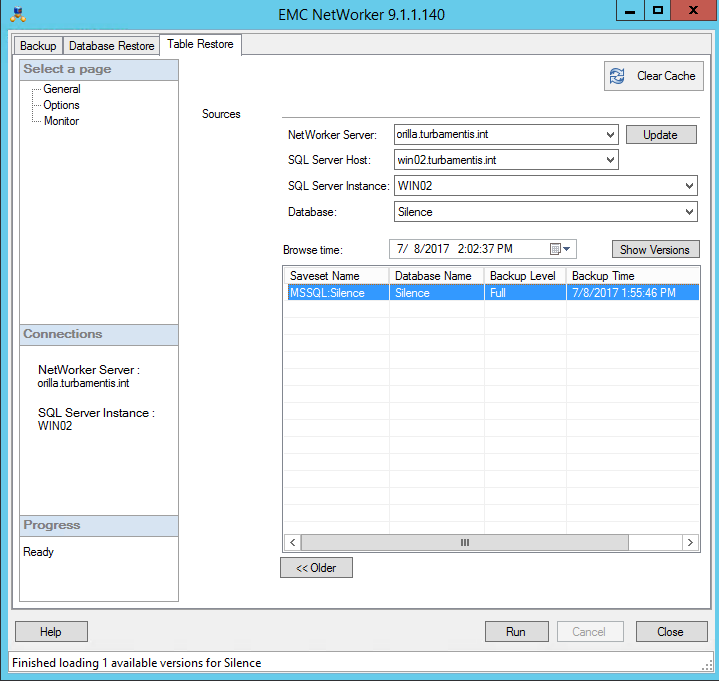
NMM SQL GLR 03
In the table restore tab, I chose the NetWorker server, the SQL server host, the SQL instance, then picked the database I wanted to restore from, as well as the backup. (Because there was only one backup, that was a pretty simple choice.) Next was to click Run to initiate the recovery process. Don’t worry – the Run here refers to running the mount; nothing is actually recovered yet.
![NMM SQL GLR 04]()
NMM SQL GLR 04
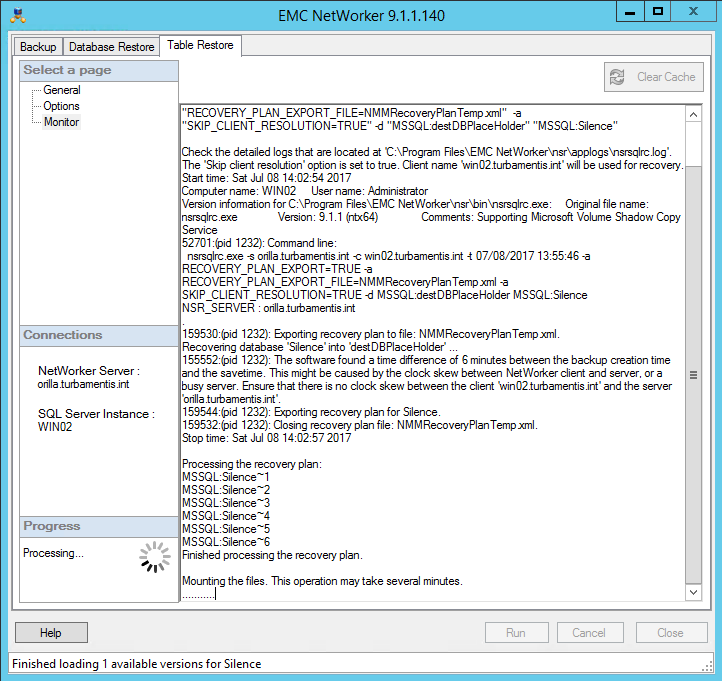
While the mounting process runs you’ll get output of the process as it is executing. As soon as the database backup is mounted, the ItemPoint wizard will be launched.
![NMM SQL GLR 05]()
NMM SQL GLR 05
When ItemPoint launches, it’ll prompt via the Data Wizard for the source of the recovery. In this case, work with the NetWorker defaults, as the source type (Folder) and Source Folder will be automatically populated as a result of the mount operation previously performed.
![NMM SQL GLR 06]()
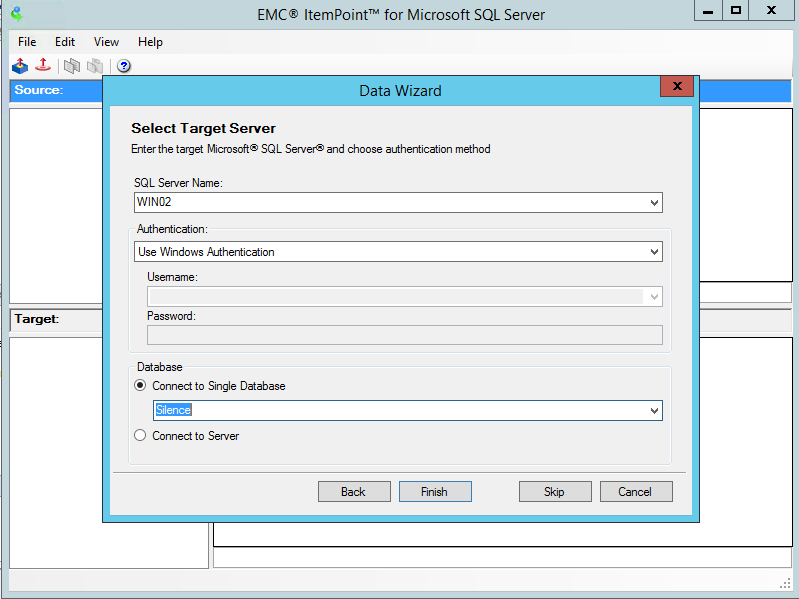
NMM SQL GLR 06
You’ll be prompted to provide the SQL Server details here and whether you want to connect to a single database or the entire server. In this case, I went with just the database I wanted – the Silence database. Clicking Finish then opens up the data browser for you.
![NMM SQL GLR 07]()
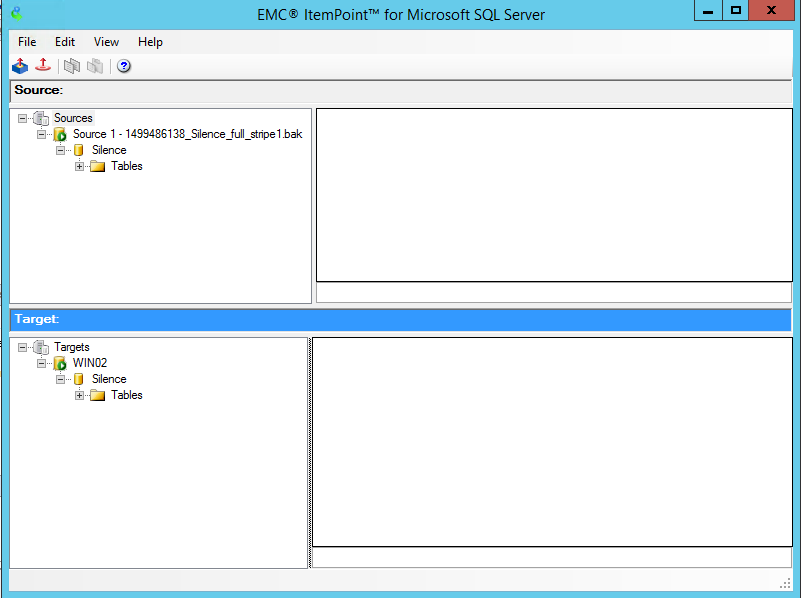
NMM SQL GLR 07
You’ll see the browser interface is pretty straight forward – expand the backup down to the Tables area so you can select the table you want to restore.
![NMM SQL GLR 08]()
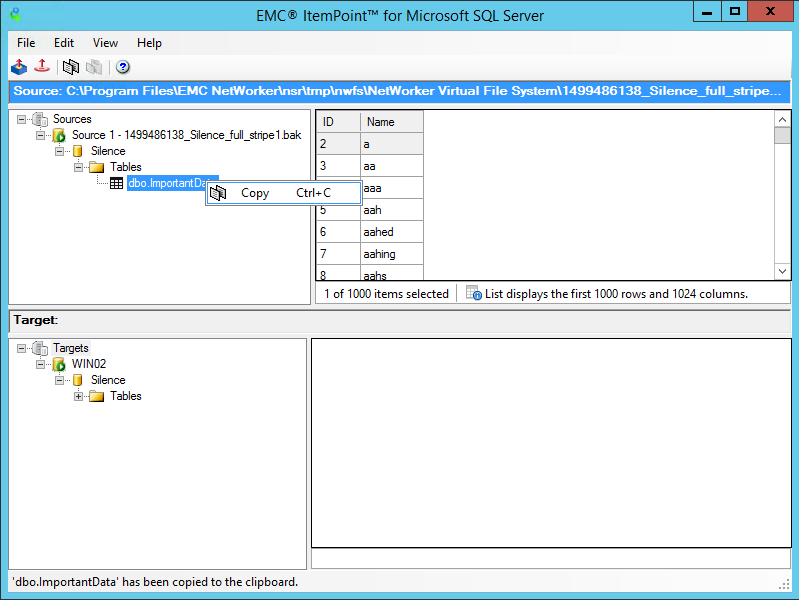
NMM SQL GLR 08
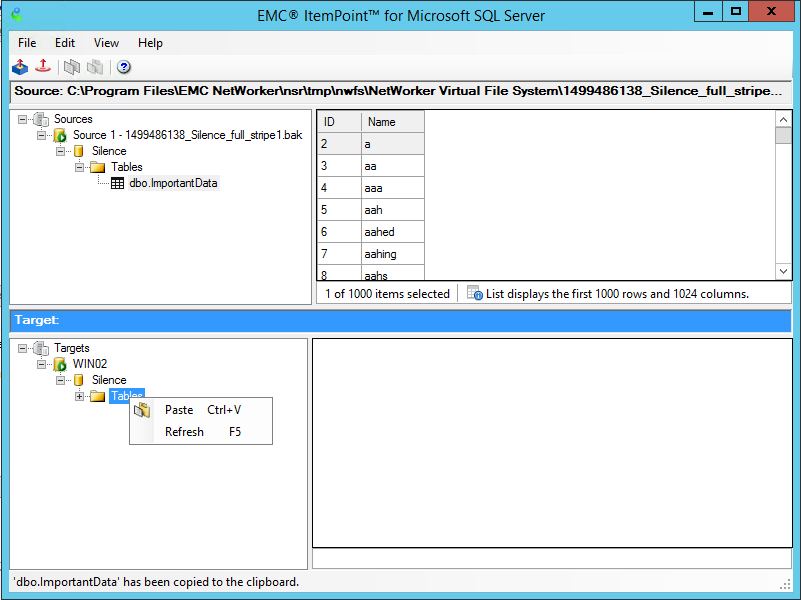
Within ItemPoint, you don’t so much restore a table as copy it out of the backup region. So you literally can right-click on the table you want and choose ‘Copy’.
![NMM SQL GLR 09]()
NMM SQL GLR 09
Logically then the next thing you do is go to the Target area and choose to paste the table.
![NMM SQL GLR 10]()
NMM SQL GLR 10
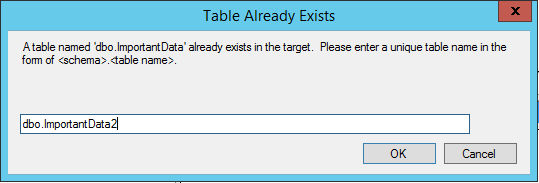
Because that table still existed in the database, I was prompted to confirm what the pasted table would be called – in this case, just dbo.ImportantData2. Clicking OK then kicks off the data copy operation.
![NMM SQL GLR 11]()
NMM SQL GLR 11
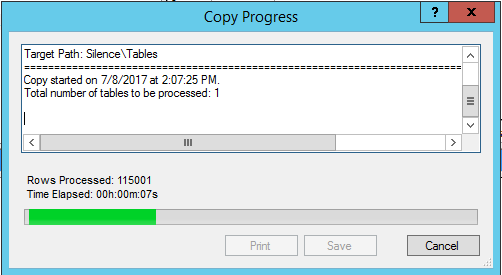
Here you can see the progress indicator for the copy operation. It keeps you up to date on how many rows have been processed, and the amount of time it’s taken so far.
![NMM SQL GLR 12]()
NMM SQL GLR 12
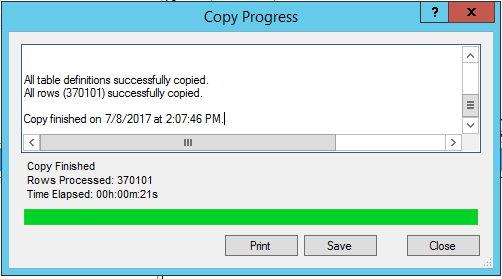
At the end of the copy operation, you’ll have details provided about how many rows were processed, when it was finished and how long it took to complete. In this case I pulled back 370,101 rows in 21 seconds. Clicking Close will return you to the NetWorker Plugin where the backup will be dismounted.
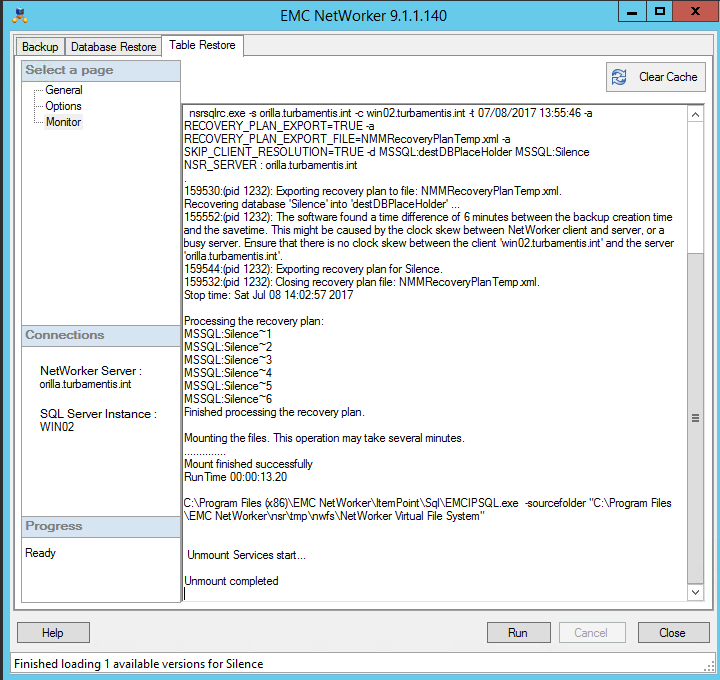
![NMM SQL GLR 13]()
NMM SQL GLR 13
And there you have it. Clicking “Close” will close down the plugin in SQL Management Studio, and your table level recovery has been completed.
ItemPoint GLR for SQL Server is really quite straight forward, and I heartily recommend the investment in the ItemPoint aspect of the plugin so as to get maximum benefit out of your SQL, Exchange or SharePoint backups.
—
* I have to say, it really irks me that Microsoft don’t have any OS pricing for “non-production” use. I realise the why – that way too many licenses would be finagled into production use. But it makes maintaining a home lab environment a complete pain in the posterior. Which is why, folks, most of my posts end up being around Linux, since I can run CentOS for free. I’d happily pay a couple of hundred dollars for Windows server licenses for a lab environment, but $1000-$2000? Ugh. I only have limited funds for my home lab, and it’s no good exhausting your budget on software if you then don’t have hardware to run it on…